Just received your new card? With your Web Banking app, you can activate your credit and debit cards easily without visiting an ATM or making a store purchase. (This feature is not yet available on the website.)
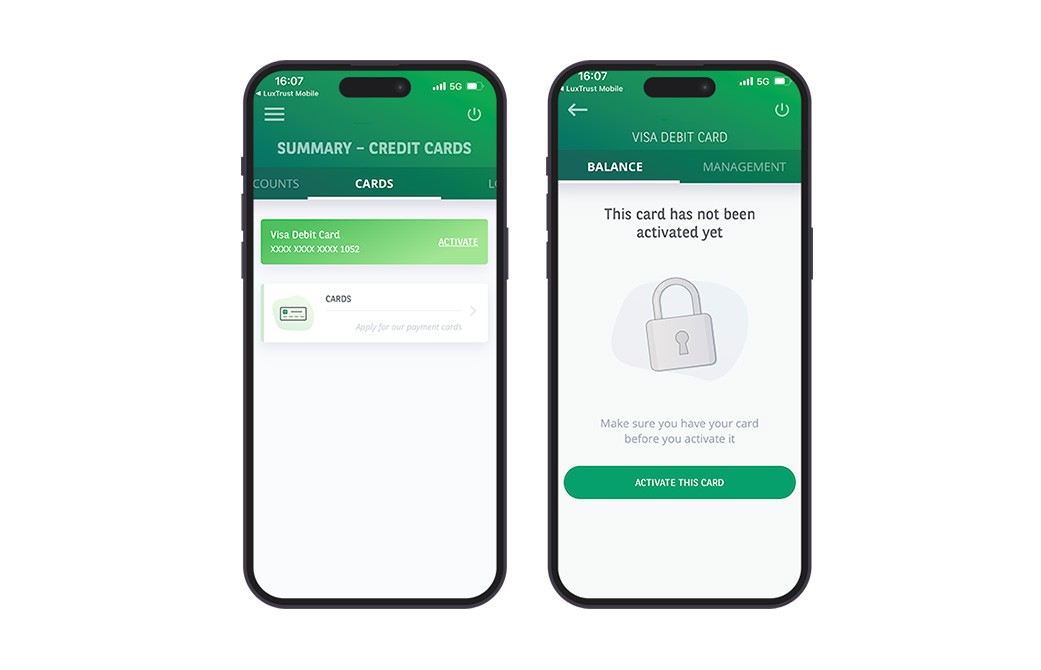
- In the ‘ACCOUNTS’ menu, select ‘CARDS’.
- The card to activate appears first. Tap ‘Activate’.
- On the next screen, select ‘Activate this card’.
- Enter the last 8 digits of your card and tap ‘Activate my card’.
Your card is now activated and ready to use!